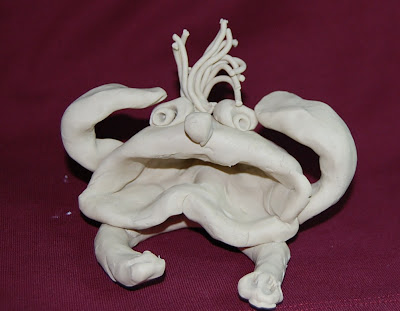
Today, in our series on the Oogly Kit, we’re sharing a sneak peek at everyone’s favorite part of the Oogly Kit – the Hair Raiser. It makes the kids’ eyes widen like no other tool you can give them to play with clay.
 |
| Making hair is always a popular part of making ooglys. |
It’s not just about hair though – the Hair Raiser can be used to make all sorts of additions to your oogly. Whatever you can envision from the skinny strands of clay, you can create. It's easy and it's fun.
 |
| You can use the Hair Raiser to make shoes, hair, and other accessories. |
A great feature of the Hair Raiser we’ve included in the oogly kit is the interchangeable insert. You can make thin hair like this…
 |
| With the smaller insert, you can make thin hair for your oogly. |
Or if you want thicker, healthier, shinier oogly hair…Just change the insert and off you go.
Because the clay in the Oogly Kit is easy for hands of all ages to mold and shape, using the Hair Raiser is also easy for everyone to use. It doesn’t take much pressure to push the clay through the holes and it’s easy to pull off the Hair Raiser to put on your oogly – where ever you want.
 |
| One Hair Raiser makes both thick and thin hair for your oogly. |
Younger children usually prefer the larger hair because it’s easier to take off the Hair Raiser an place on their oogly. The process is a great way for them to practice hand-eye coordination and manipulation skills with their fingers.
 |
| Large hair is easy for younger children to work with. |
You can make short hair, long hair, straight hair and curly hair.
 |
| Maybe he's been losing his hair for a while... |
Just a little or a whole lot.
 |
| Quite a head of hair here! |
Like each step in the process of making an oogly - it’s up to you and your imagination. Have a hair raisin’ time playing with the oogly kit and exploring the possibilities.


No comments:
Post a Comment