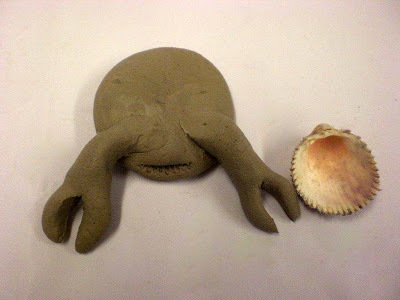
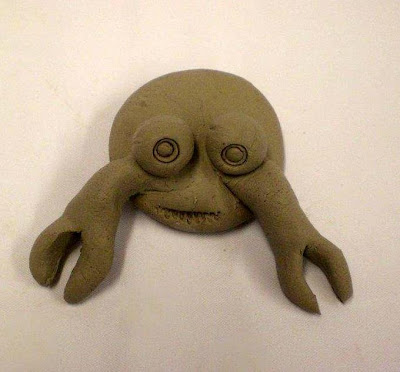
Materials
Clay (stoneware, terracotta or a non-hardening modeling clay will work)
*Slip (slurry made from old, dry clay and water to use as paste with stoneware or terracotta)
Any shell that would suit a hermit crab
1. Make a ball of clay the size of a ping pong ball and divide it into two pieces.
2. Roll one piece into a fat pancake. This will form the body of your crab.
3. Pinch a marble-sized piece of clay from the remaining clay and roll it into a two and a half inch coil. 4. Split one end of the coil and separate the end to form the crab’s claw. Attach the claw to the body of the crab.*
6. Repeat the process so your crab has two front claws.
7. For eyes, roll two balls of clay and attach them to the front of the crab’s body. Use the sharp edge of your shell to draw the mouth on your crab below the eyes.
8. For the remaining crab legs, make six one and a half inch coils and attached three to either side behind the front claws.
9. Now, add a real shell to the back of your crab. You can press it into the body so it sticks or just let it rest on the back of your crab.
*If you are working with stoneware or terracotta, you will need to use the slip as glue to attach the claws and legs to your crab. Using the pencil, make scratch marks on both surfaces you will be joining. Apply the slip to the piece of clay you are adding and press the piece into place.
We're sharing this post today on Skip to My Lou where you'll find lots of other great projects like this.


No comments:
Post a Comment